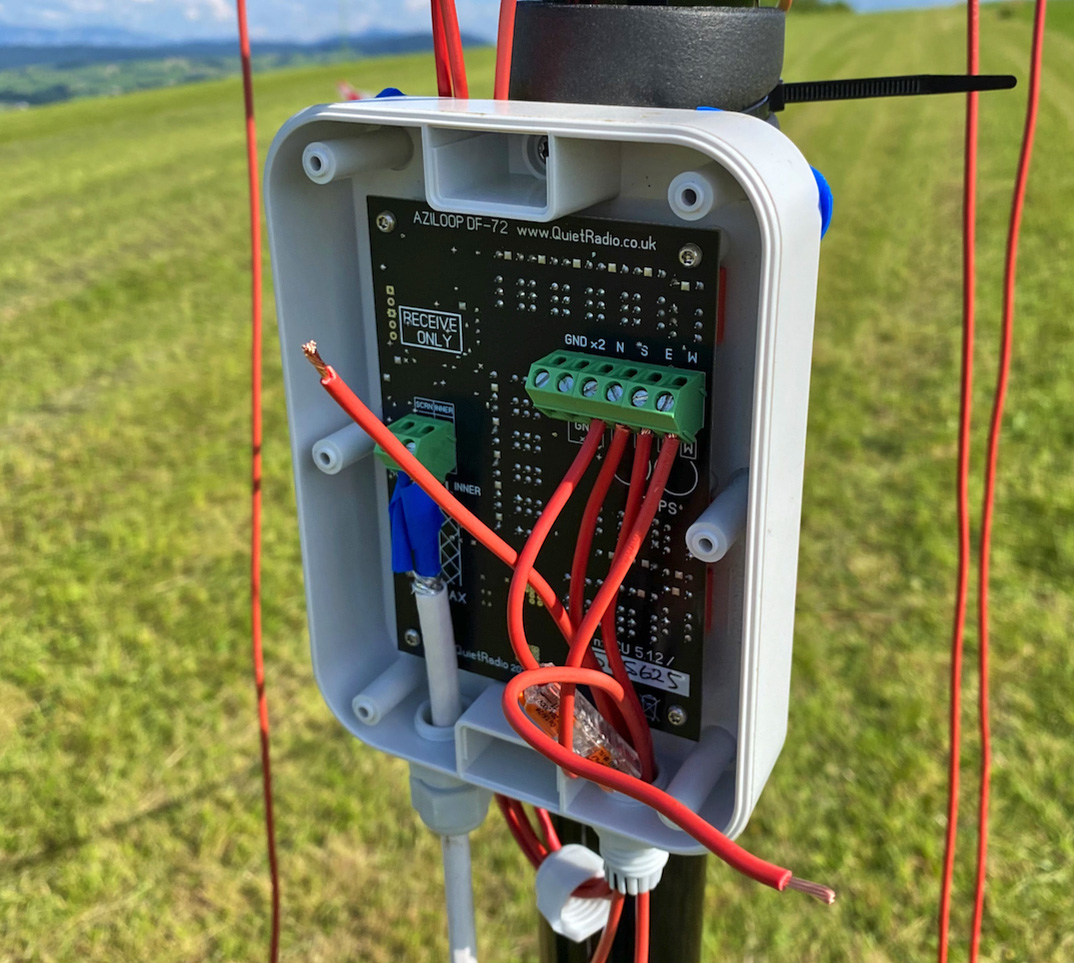
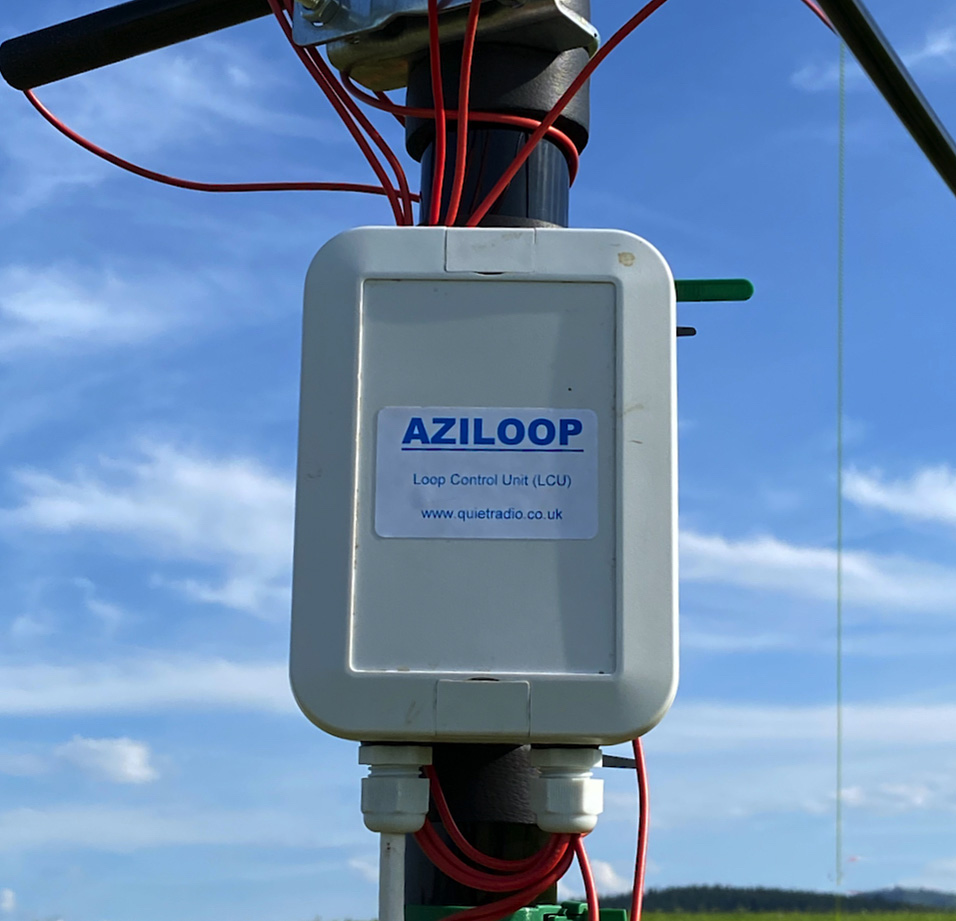
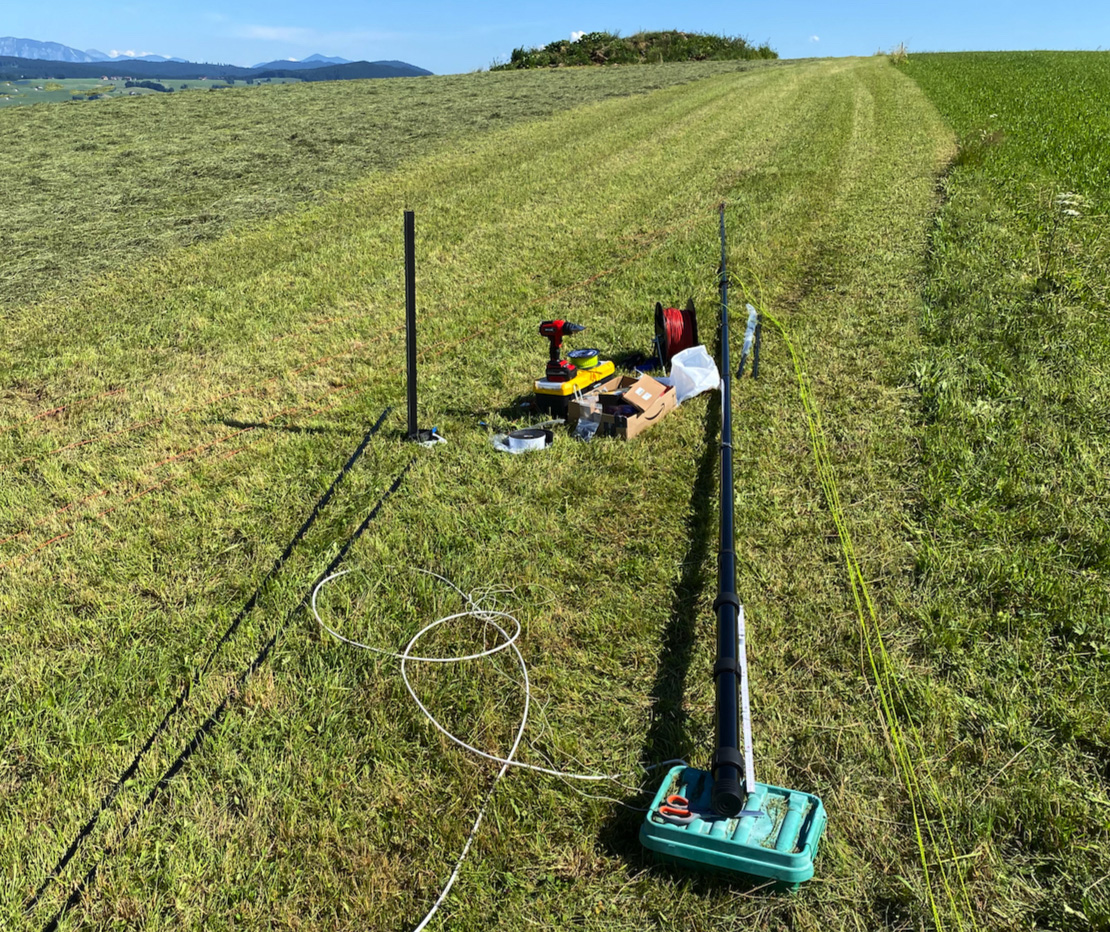
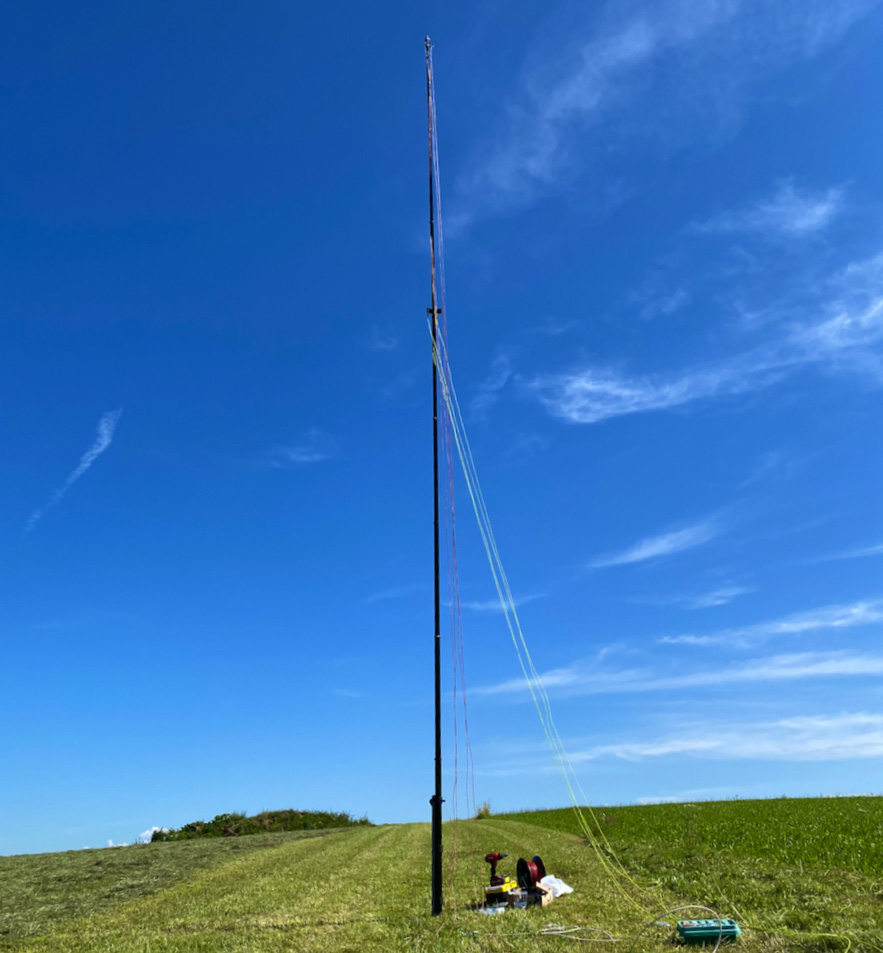
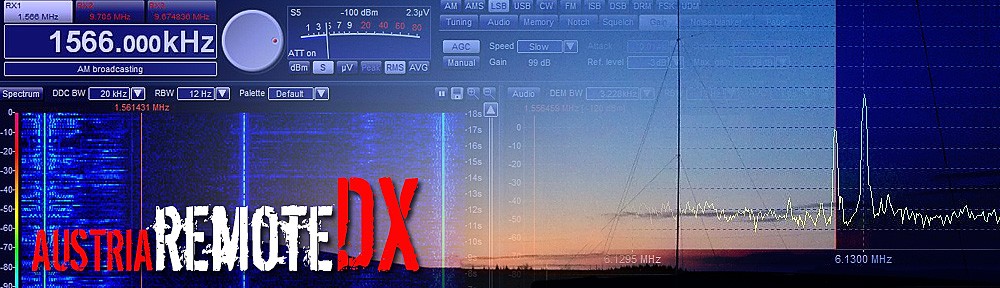
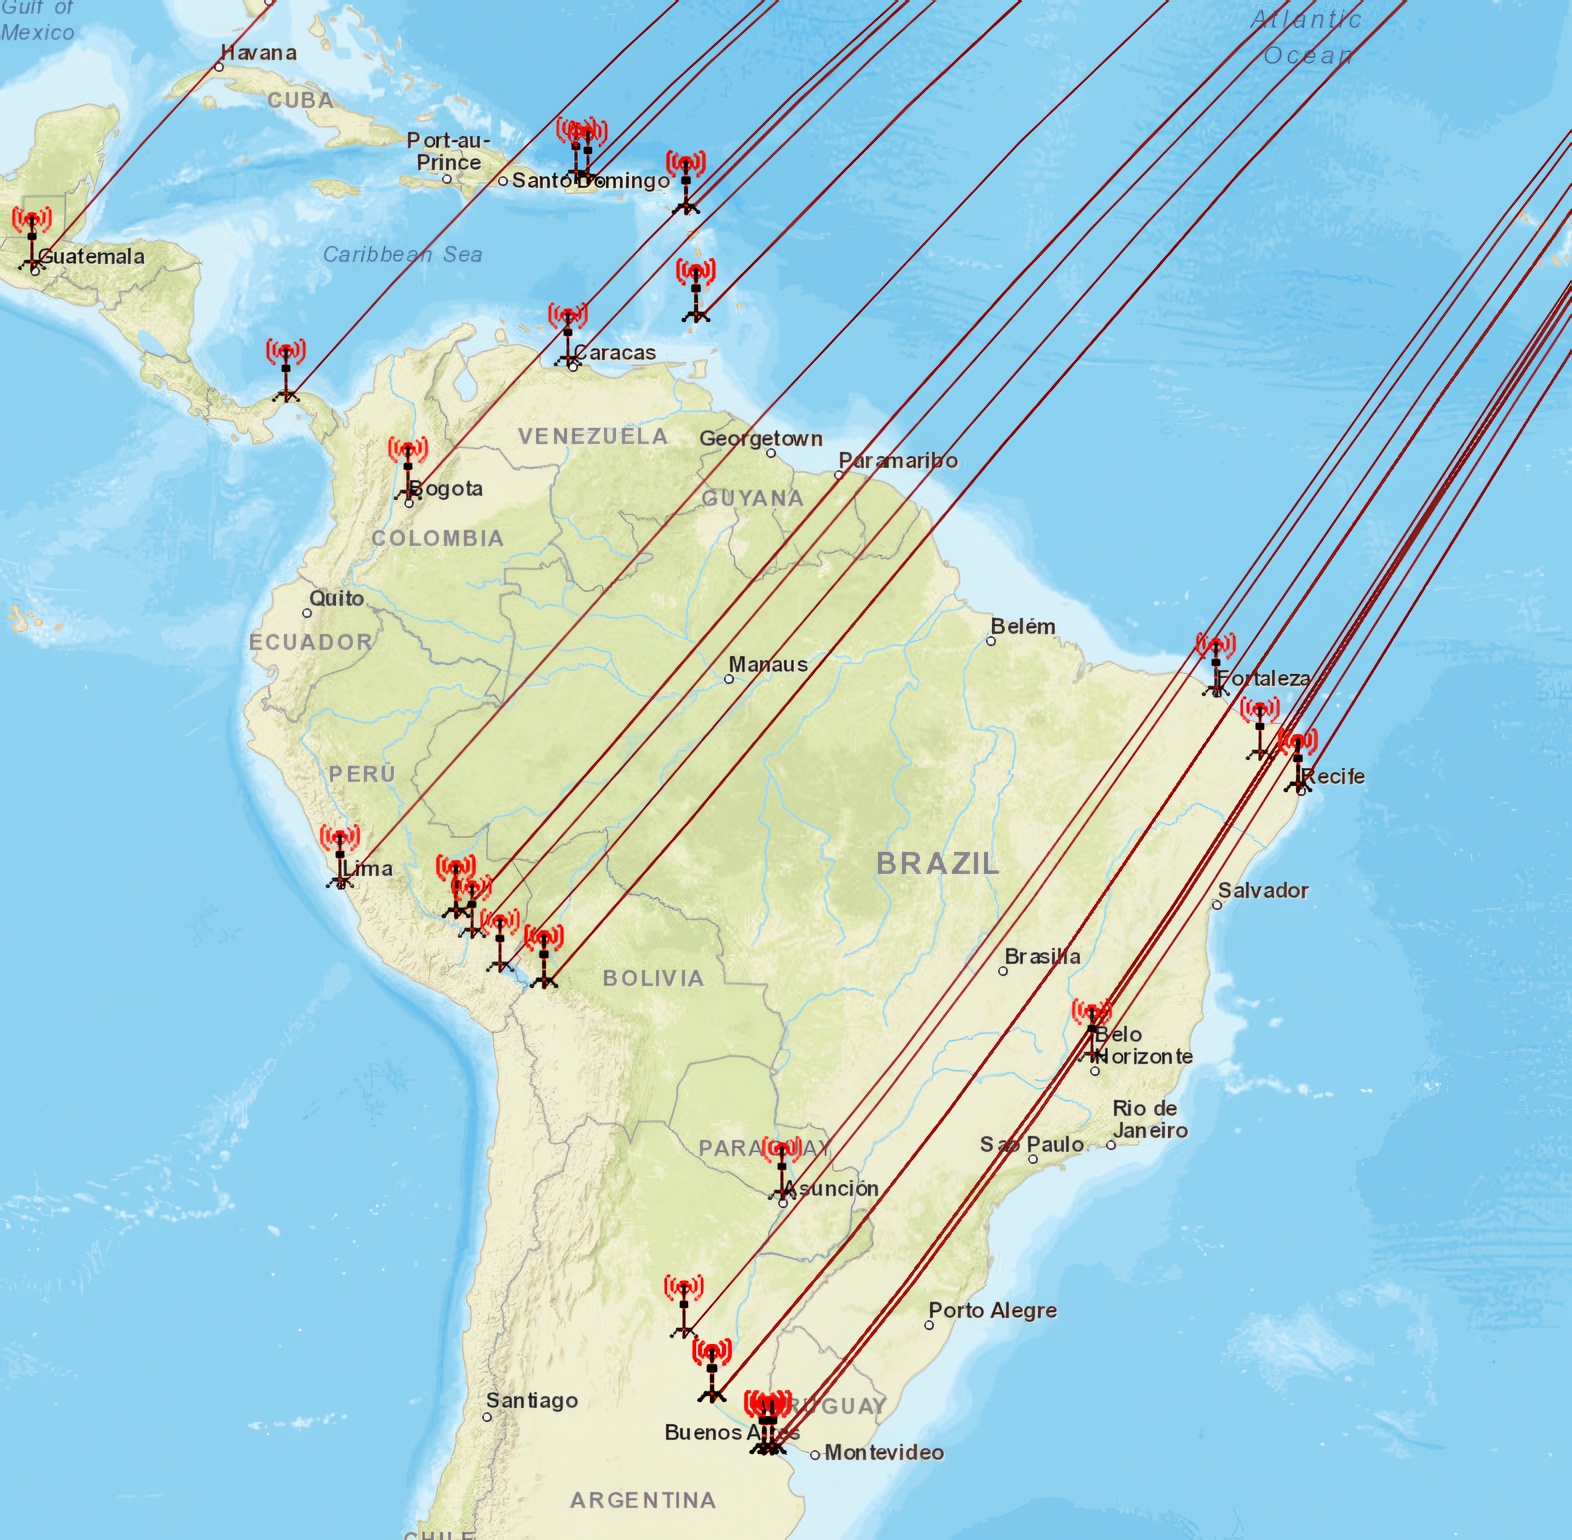
AziLoop construction.

Here is my fully assembled AziLoop antenna. Mast height 8 meters. Boom tubes 3 meters each. Boom tubes at a height of 1.8 meters so that animals and people do not trip over them and the antenna is at least 1 meter above the snow in winter. The circumference of the two loops is a generous 20 meters for mediumwave reception. The antenna is guyed at a height of 5 meters with spiral ground anchors. The 150 metres 75-ohm copper coaxial cable to the station is laid underground.

AziLoop construction.

Now the boom arms and loop wires, as well as the radials, are all laid out and finally the Loop Controller Unit (LCU) Box is mounted. Install with the thin sides facing the midday sun. The case is weatherproof and UV resistant so needs no further protection. The LCU is powered and controlled via the signal coax. No control line from the station is necessary! The loop wires and radials are now connected in the box, the coaxial cable is connected directly, and the weatherproof housing is screwed shut. My AziLoop antenna is finished!

AziLoop construction.

The most difficult part of the entire assembly was finding fasteners for the boom tubes. I used four “JBL 63 cross parallel clamps” from UKW-Berichte, a renowned German company that also sells all kinds of antenna accessories. These clamps are inexpensive and perfectly suited for the 4-meter Spiderbeam boom tubes, of which I only used 3 meters. It is important to place foam rubber under the clamps everywhere to protect the mast and NEVER tighten the clamps too much. It is better to tighten them one turn too little than one turn too much. I inserted the AziLoop radials directly into the tubes and secured them at the front end with small duplex clamps to hold the wire in place. I used insulated 1.5 mm² electrical wire for the entire antenna, as there is no significant mechanical stress here. If the wire proves to be mechanically vulnerable, I will replace it in the fall with the high-strength wire also used for the Beverage antenna.

AziLoop construction.

The guy wire – MASTRANT R 3mm – and clamps are from Mastrant, a reliable partner for antenna construction. The lower guy belt is actually intended for the Spiderbeam 14m HD fiberglass pole, but can be used on the 12-meter pole after the first 5 elements. Since I only use 8 meters of the pole, it is securely guyed despite the low load. The 8-meter mast can be easily assembled lying down and set up by one person. It is important to install the wires for the loops and the upper attachment points as well as the guy belt. And make sure that all wires and guy lines are correctly positioned before setting up.

AziLoop construction.

I have started setting up my Aziloop DF-72 antenna system. It was important for me to be well prepared. There are good sources online for carrying out a project like this on your own, even without much knowledge of antenna construction. The most important elements are my 12 Meter Spiderbeam HD Fiberglass pole with clamp set and guy belt and the boom elements, also from Spiderbeam. These are high-quality products that don’t cost much more than ‘cheap’ components.